Sunday, April 19, 2015

Orange Zest Cupcakes


For a quick brunch between friends, I decided to make some cupcakes (mostly because I've been wanting to bake something, but didn't have the opportunity to). I still had some candied orange peels from the last candied orange cupcakes, so I opted for an orange-y cupcake. Good thing I still have some oranges sitting in the fruits basket!


I baked a half batch of basic vegan cake (this time, it yielded 6 cupcakes), in which I added about 2 tbs of candied orange zests, and grated in the zest of an additional orange.


I made a batch of frosting with some orange blossom aroma, and then decorated with an orange supreme and some more candied peels.


BASIC VEGAN CAKE RECIPE
  Ingredients
  • 1 3/4 cup flour
  • 1 cup sugar
  • 1 tsp baking powder
  • 1 tsp baking soda
  • pinch of salt
  • 1 cup unsweetened soymilk
  • 1/2 cup oil
  • 2 tbs vanilla extract
  • 1 tbs white or apple cider vinegar
  Procedure
  1. Preheat oven 180°C. Grease and flour a cake pan. Alternatively, use cupcake liners.
  2. In a medium mixing bowl, whisk together all the dry ingredients.
  3. In another bowl, whisk together all the wet ingredients.
  4. Add the wet ingredients to the dry ones.
  5. Mix well, ensuring there are no dry pockets of flour.
  6. Pour into pan.
  7. Bake for 30 mins (for a whole cake) or 20 mins (for normal-sized cupcakes), or until a toothpick comes out clean.
  8. Let it cool and ice/top it however you want.
FROSTING RECIPE
  Ingredients
  • 5 tbs flour
  • 1 cup soymilk
  • 1 cup butter, softened
  • granulated sugar, to taste
  • 1-2 tsp of flavor
  Procedure
  1. In a saucepan, whisk together flour and soymilk. Heat until thickened to a batter-like consistency.
  2. Add in the flavor.
  3. Cool to room temperature. 
  4. Beat together butter and sugar until fluffy, and no graininess from the sugar remains
  5. Add the flour/soymilk mix, and beat until it reaches a frosting consistency.

Thursday, April 16, 2015

Milk Tart (Melktert)


Long ago, I saw a recipe from Cakecrumbs for a milk tart, a cinnamon-flavored South African custard tart. Initially, it was the appearance of it that drew me -- that, and the word "cinnamon." The custard itself, however, required quite a few eggs that I know, from experience, would not work with just egg replacer. Google helped me to find a vegan alternative.


First, I settled with making a shortbread crust, which I put into my mini tart pans, and baked until golden. This time, instead of standing around rubbing the butter into the flour, I attempted to pulse it a few times in a blender with a chopper blade attachment, and finished the rest by cutting with two knives. It made for more dishes to wash, but resulted in a much shorter pastry, and less mess on my own fingers.


Then came the time to make the filling. I looked in my various ingredients and baking equipment boxes, convinced that I had a bag of cinnamon sticks laying around. The one time I wanted to use one, and it turns out I left them at home. Silly me. Cinnamon powder would have to do.

Simmering soy milk with the cinnamon, I added a slurry made with some more soy milk and cornstarch. Once cooled a little, I filled in my tarts, then left them set in the fridge. It actually took two days to stop jiggling. Then the whole surface was dusted in a mix of icing sugar and cinnamon.


Since I had some excess custard, I filled little dessert jars for extra nomming.

MILK TART RECIPE (for approximately 6 mini tarts)
  Ingredients

     Shorbread Crust
  • 250 g (2 cups) flour
  • 150 g (10.5 tbs) butter, diced
  • 25 g (2 tbs) unrefined sugar
  • 2 tbs cold water
  • a pinch of salt
     Custard Filling
  • 2.5 cups soymilk
  • 1/2 tsp cinnamon powder or cinnamon stick
  • 3 tbs cornstarch
  • sugar, to taste
     Dusting
  • 1 tbs icing sugar
  • 1 tbs cinnamon powder
  Procedure

     Shortbread Crust
  1. Mix flour, sugar, and salt in a mixing bowl.
  2. In a blender with chopper blade, pulse flour mix with butter until a breadcrumb consistency is obtained.
  3. Add water progressively until the dough comes together into a ball.
  4. Refrigerate 30 mins before rolling out.
  5. Preheat oven 180°C.
  6. Roll out to desired thickness, and line pans with the dough.
  7. Using a fork, poke holes all over the surface of the dough.
  8. Bake for 15-30 minutes, or until golden.
     Custard Filling
  1. In a pot, mix 2 cups of soymilk with cinnamon, and bring to a boil. Once boiling, reduce to a simmer to infuse cinnamon.
  2. Make a slurry out of the cornstarch and the remaining soymilk.
  3. Progressively add slurry to the hot soymilk, whisking constantly.
  4. Add sugar to taste, and continue cooking until thickened.
     Assembly
  1. Pour custard filling into the tart shells.
  2. Let cool then refrigerate overnight.
  3. Dust with a mix of cinnamon and icing sugar.
  Tips and Comments

  • You can use any other milk. I just used soymilk because that is what I had at hand.
  • I ran out of cornstarch halfway through, so I subbed the rest with 3 times the volume in wheat flour. This requires longer cooking for it to thicken, however.
  • This recipe is for approximately 6 mini tarts, although I am not sure about how much filling it would make. I made 3 mini tarts with 1/2 of the crust recipe, and used about 2 cups of soymilk overall to fill my 3 tarts and two little glass pots.
  • If you have leftovers, put them in various recipients (jars, glass pots, etc.), and refrigerate to make little custards.

Eggless Flan


I have long been looking for a good, eggless flan recipe. I, of course, steered away from recipes using gelatin, but also avoided those using agar-agar, just because I have a very limited stock of agar powder, which I am thinking of using to make some jello at some point in time.


I started small, using about half of the recipe. I personally felt that it wasn't as smooth on the tongue as expected when eaten the same day as it was steamed. I made 2 larger ones, and 1 small one. My cousin and I eat ate a large and small one respectively, and I left the last large one to nap in the fridge overnight.


It did set and hold together, however, so that is something to be happy about! The cutting went very smoothly (since I cut a piece out so that I could take a picture of the inside). The yogurt flavor is fairly strong, however.


The last one that I left in the fridge overnight was much better, in my opinion. I cut it in half and served each half with some fresh apple slices, along with some pieces, as about 1/4 apple fit on top of the flan half itself.


It seemed the cold or something helped smoothen the texture. Or it was in comparison to the crunchy apples. Anyways, this recipe is something I would like to test some more before really posting, so this time, I'll just give a link.


Recipe: madhurasrecipe.com

Wednesday, April 1, 2015

Lemon Pound Cake


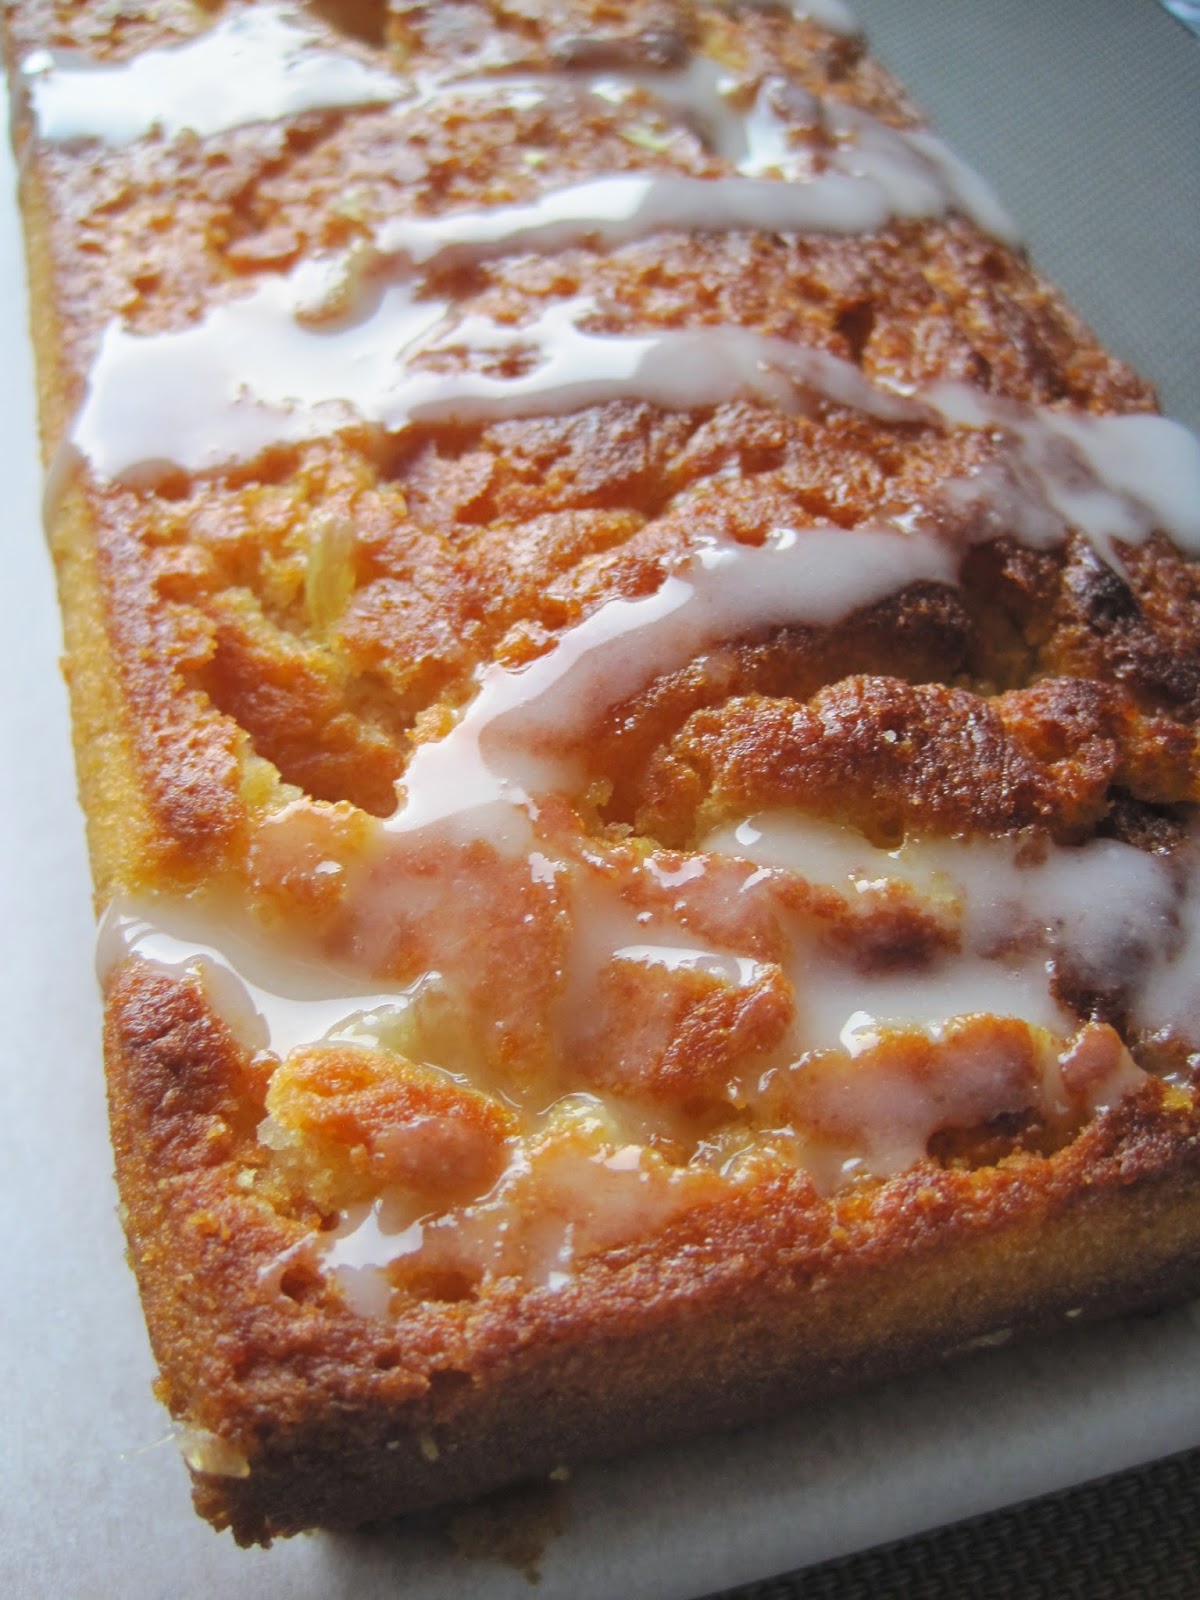
For yet another hallway dinner - this time with a theme of German-speaking countries - I settled on a lemon pound cake (Zitroenenkuchen, from Germany or Switzerland). Most of the recipes I found, however, used about 4-5 eggs, which do not go along with my baking ideals.


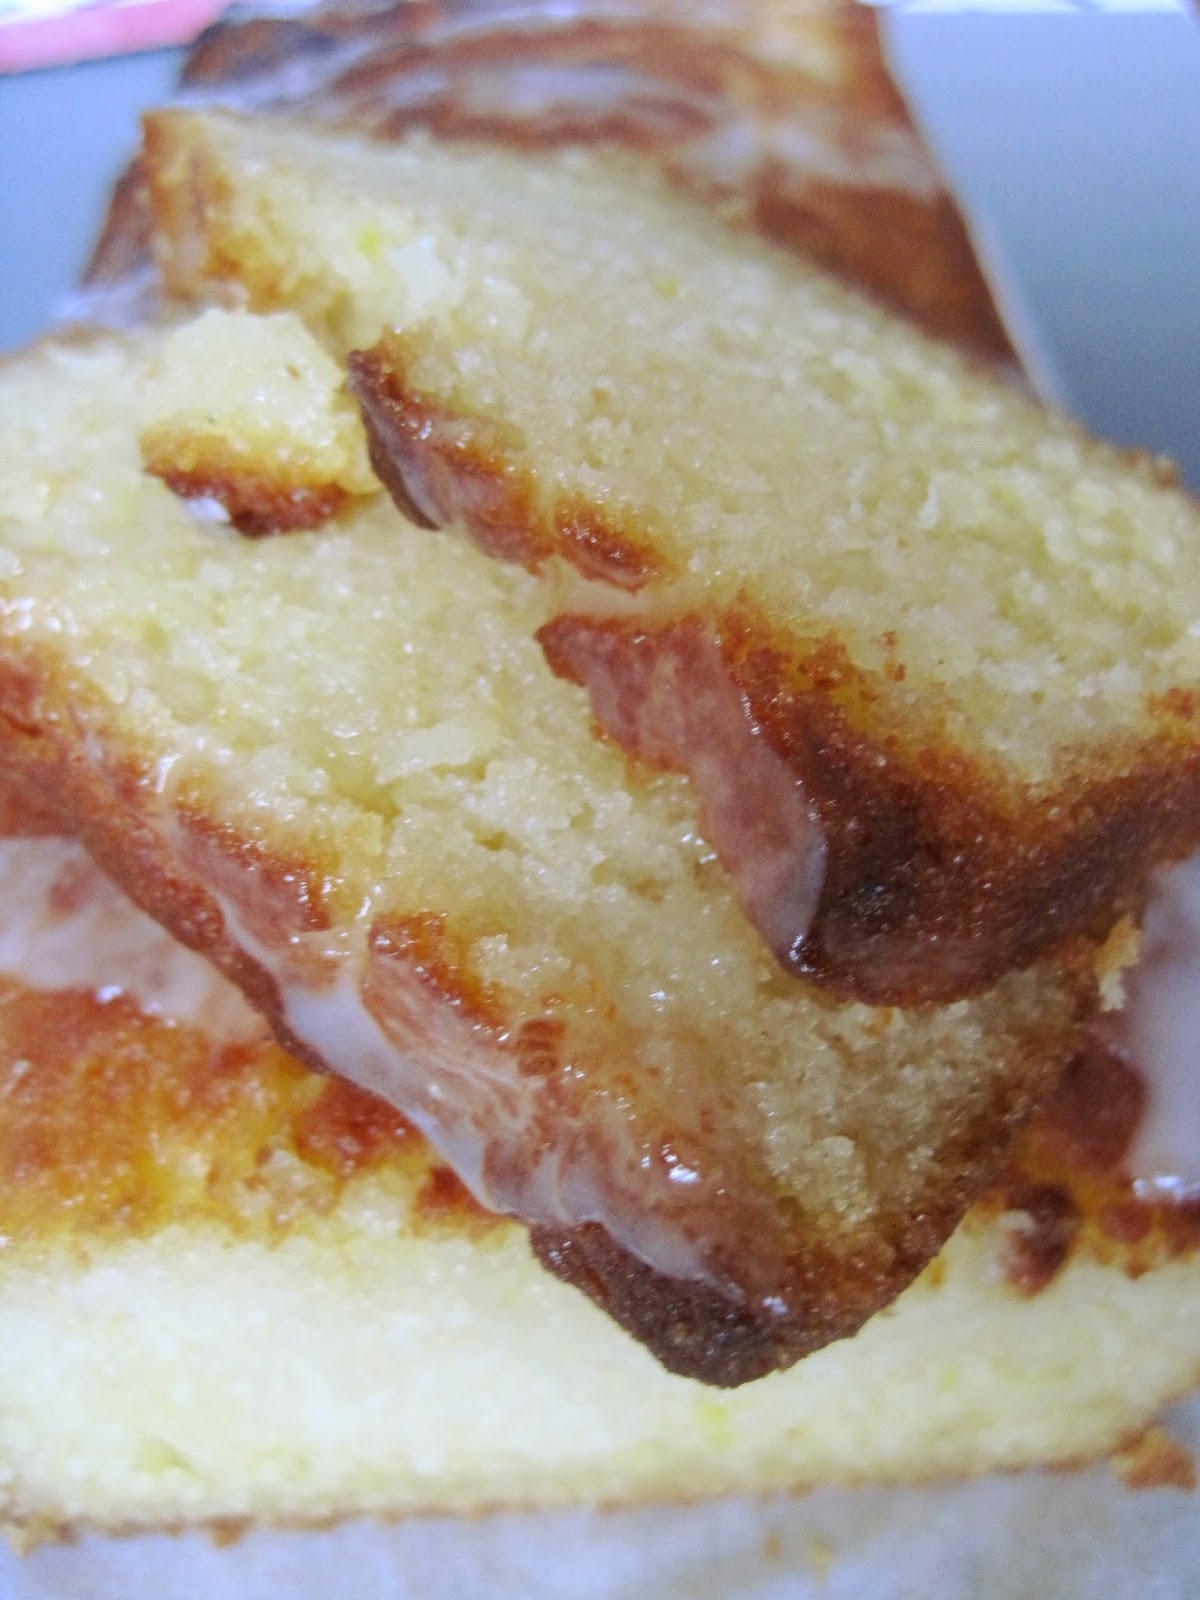
Therefore, I adapted an egg-free pound cake recipe I found on Veg Recipes of India, and soaked that in a lemon glaze/syrup. This recipe is amazingly easy and has such a soft, moist cake that is very pleasing to eat. After the cake was thoroughly soaked in the lemon syrup, I iced the top with a lime icing, just because I had half a lime laying around from making another dish.


The yellow color of this came comes mostly from butter. It has quite a hefty amount of butter (1/2 cup of melted butter, 200 g unmelted) which deterred me at first. Not finding many other options, however I gave it a try. If it wasn't so yellow, I may have had added a drop of food coloring, but it was unnecessary.


In addition to the lemon juice used in the syrup soaking into the cake, and a tiny bit of lemon juice in the batter, the zest of 2 lemons was mixed into the batter, adding to the overall fragrance of the cake.


RECIPE
  Ingredients
  • 200 g butter
  • 1 1/2 cup flour
  • 1 tsp baking powder
  • 1/2 tsp baking soda
  • 2/3 cup (200 g) condensed milk
  • 1/2 cup milk (I used soymilk)
  • 2 lemons, zested and juiced
  • 1/8 cup sugar
  • 1/4 lime
  • 50 g icing sugar + some more 
  Procedure
  1. Preheat oven 180°C.
  2. Sift flour, baking powder, and baking soda and set aside.
  3. In a saucepan, melt the butter. Once melted, add in the condensed milk and whisk until homogeneous.
  4. Warm the milk in a pan or in the microwave (about 30 seconds in the microwave were sufficient). Add to the butter and condensed milk mix.
  5. Whisk in the sugar, lemon zest and 1 tbs of the lemon juice.
  6. Add the sifted flour mix, and mix until homogeneous.
  7. Bake for 30-50 mins (depending on the oven) or until a toothpick inserted in comes out dry.
  8. While baking, mix the remaining lemon juice with about 50 of icing sugar. It should be more like a syrupy glaze rather than liquid. Add icing sugar as seen fit.
  9. Using a skewer or toothpick, poke deep holes throughout the baked cake. The more holes the better, but do not break the cake.
  10. Spoon or pour the lemon syrup glaze over the top of the cake so that it soaks into the holes.
  11. Leave the cake in the pan for at least another 10 mins.
  12. Mix some icing sugar with lime juice. The icing should be white-ish, and relatively thick while still being somewhat runny.
  13. Ice cake as seen fit.