Sunday, August 16, 2015

Durian Tiramisu


June 24, 2015

One day, my uncle bought a lot of durian pieces. My cousin being in another city, there was no way the two of us would finish them as is. Personally, I don't find durian particularly bad, just that they are pretty rich and creamy, and I can't eat too much in one go.

Then my uncle asked me if I could make a tiramisu out of it. Having never heard of the concept, I looked it up and found a few recipes. Some replaced the usual mascarpone (or ricotta in my version) with the durian. Others just added it in. Since my uncle had already bought a tub of mascarpone, I added the mashed durian flesh in for flavor and extra creaminess.


Being in China, I was way out of my natural environment, and a lot of ingredients I usually find usually were unavailable. Therefore, for the base, I made a vegan pound cake that I flavored with lemon in an effort to cut through the richness of the durian and mascarpone. I made the cake in a square cake pan, then cut it so that the cake retained its shape but each piece was half as thick. The first half was set back in the pan and moistened with Darjeeling tea before being covered in a layer of durian cream. I then repeated the layering with the 2nd half of cake.

Even in the tiramisu, the durian was pretty strong, but that might have been because I put a lot to try and finish it.

Since I didn't feel like that powdered chocolate would work well on top of lemon and durian, I hunted for another option. My aunt had given me some powdered hibiscus extract to give to my uncle, and after a quick taste test, it seemed to work fine as it also had a hint of tartness.

RECIPE
  Ingredients
  • 1 pound cake (flavored as desired) -- see one of the previous recipes
  • 200 mL whipping cream
  • 200 g durian flesh
  • 150 g mascarpone
  • tea of choice
  Procedure
  1. Bake (or buy) and slice a pound cake.
  2. Whip the whipping cream into mid-stiff peaks. No need to add sugar.
  3. Mash the durian flesh until creamy. Mix with the mascarpone.
  4. Fold into the whipped cream.
  5. Layer a pan, small ramekins, or other container with a layer of sliced pound cake. Soak in some tea.
  6. Add a layer of durian cream.
  7. Repeat until all the cake and/or cream is used up, finishing with a cream layer.
  8. Dust some powdered hibiscus extract or other decorative goods.
  9. Refrigerate min. 4 hours, but preferably overnight.

Small Apple Tarts


Whew, I got a lot of backlog to catch up on on this blog! For the past two months, I was on a trip to China. The internet there is fairly restricted, and all Google-related sites -- Blogger included -- were out of my reach. Therefore, everything I baked had to stay on my camera or laptop for later blogging.

June 6th, 2015

A couple of days after my arrival in China, my aunt who lives there told me to eat the four apples that were in the fruit basket. Not really wanting to eat them plain, and itching to attempt my very first baking in such a hot climate, I settled with small apple tarts.

I could not easily find the material I needed, so I settled with making a shortcrust dough and cutting it into circles with the edge of a rice bowl. Then I was going to just lay the apple slices on top in a spirally pattern, until I realized that the last apple was more than half bad already. I had to improvise.


Therefore I laid the whole slices with the wider curve facing out, then shredded the remaining apple into small strands, which I dumped somewhat randomly in the middle.

General apple tart tutorial can be found at this link!

Tuesday, June 2, 2015

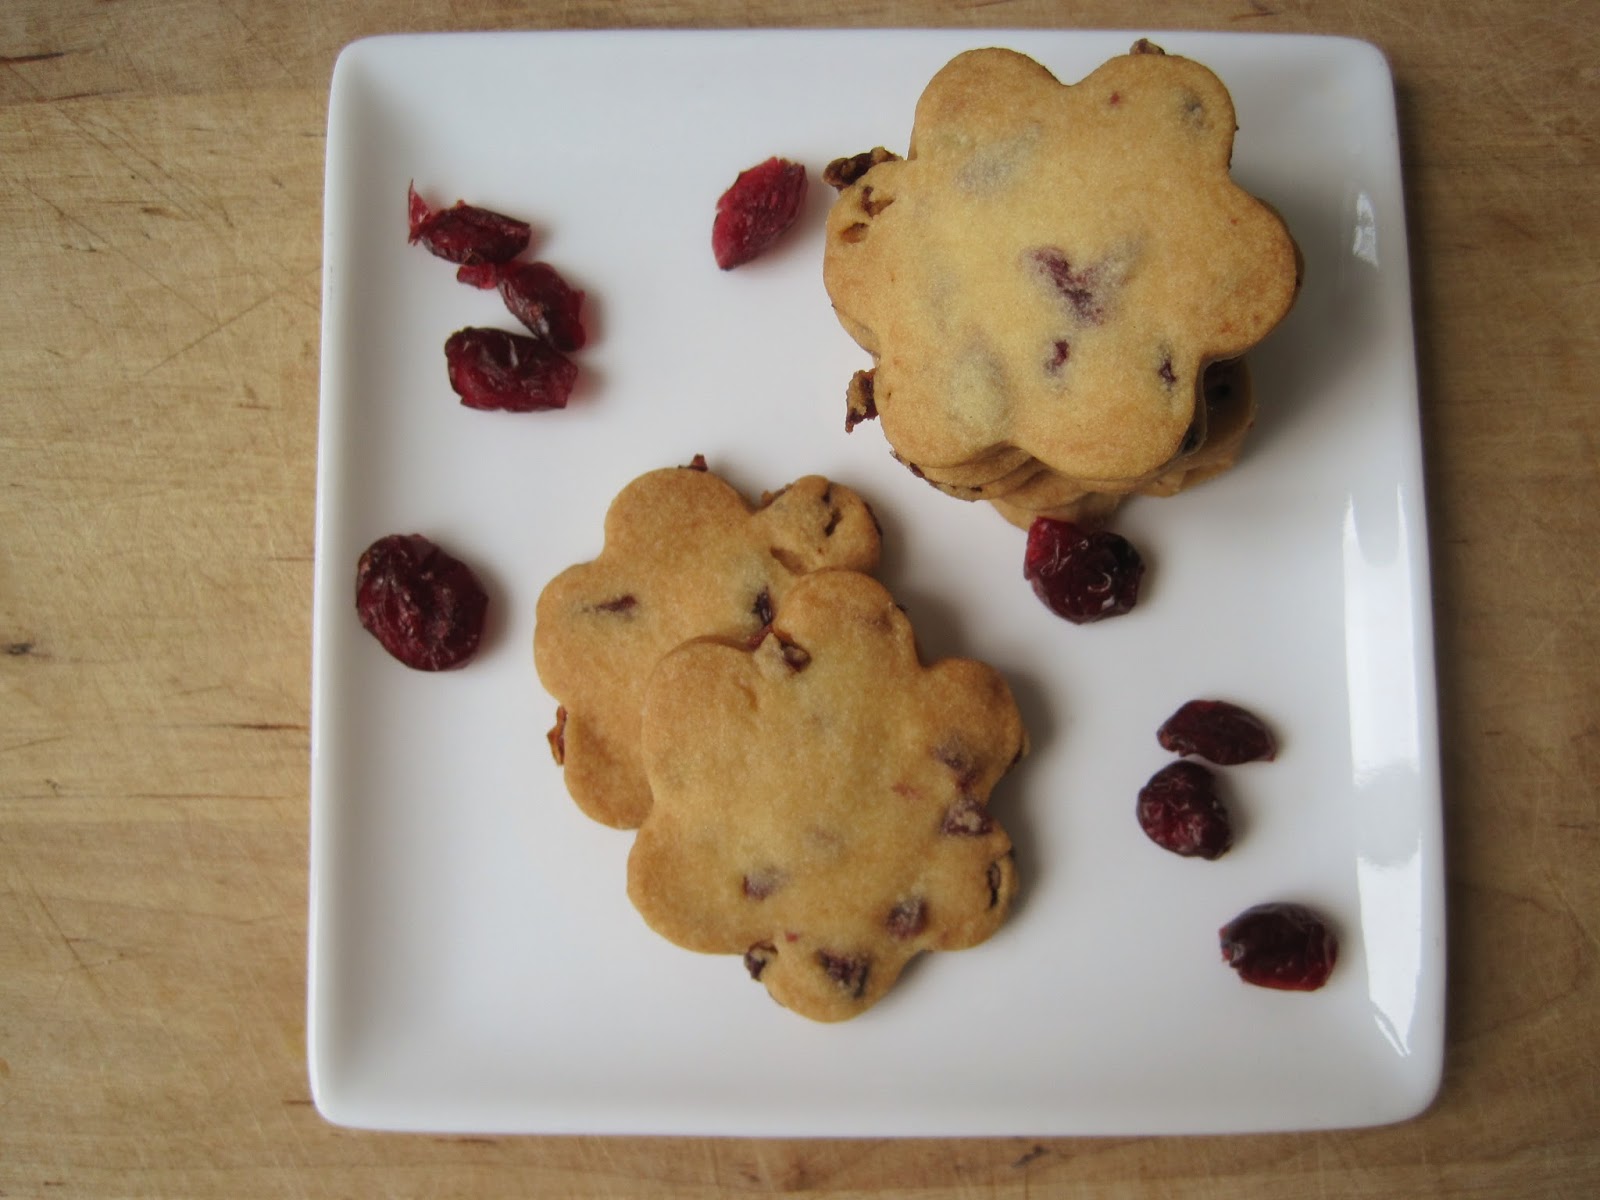
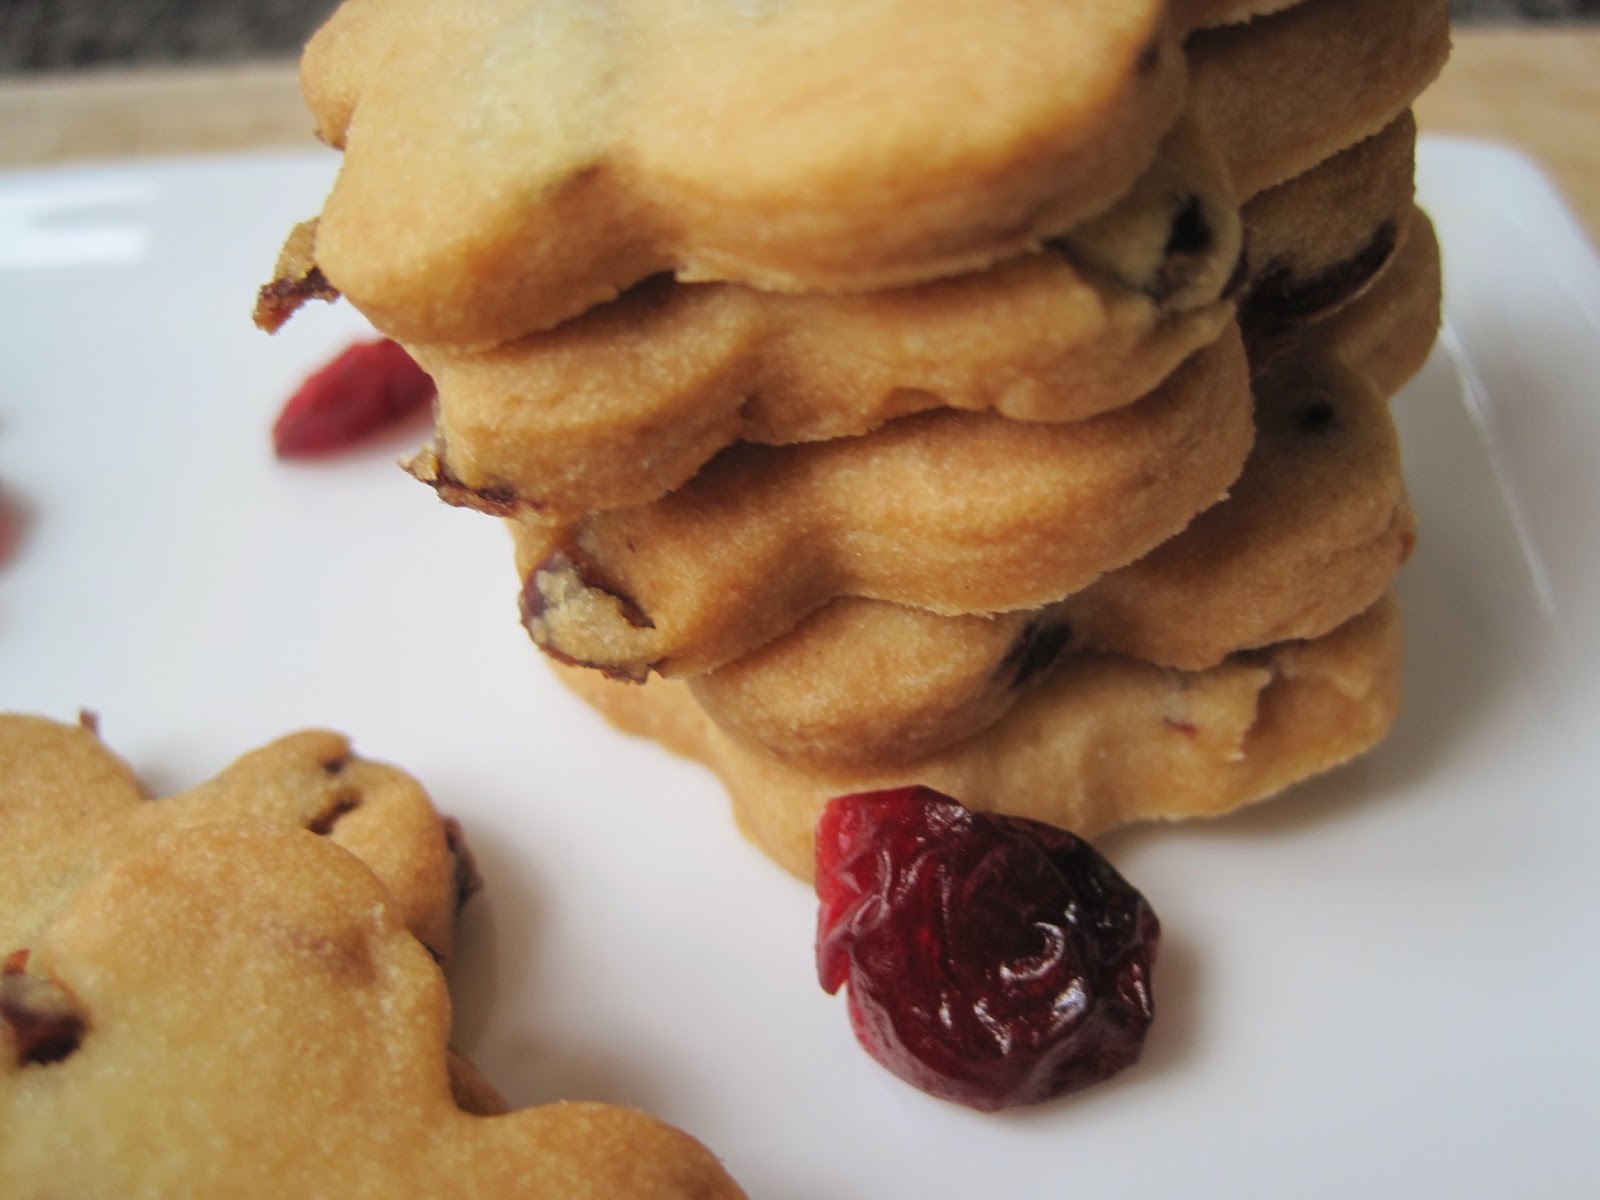
Cranberry Shortbread Cookies


I have been meaning to make cookies to give to the people in the department at the hospital in which I had worked for a month, a few years back. One of them recently found an internship for me, so I wanted it to double as thanks for him, too.


Instead of doing plain butter and sugar cookies, I decided it was time to try another recipe from my shortbread cookies and crackers recipe book. I had received this book for Christmas last year, from a cousin.


I had some dried cranberries laying around (my aunt usually brings a huge bag from the US every time she comes here, as she knows many people here like them). Thus, I ended up with cranberry shortbread cookies.


These were quite easy to make, although the 1-hour waiting time was kind of bothersome, as it was 1 am by the time I could stick them in the oven. I think the most bothersome part of this recipe is that, when cutting out shapes, my cookie cutter sometimes cut through a cranberry. If I was not careful, the cranberry would rip the cookie, thus ruining the shape.


I had planned to take progress pictures, but as soon as my hands got involved in mixing the flour into the butter mix, it was impossible to handle my camera. Maybe next time! I packaged these in little transparent plastic bags to give out.


CRANBERRY SHORBREAD RECIPE
  Ingredients
  • 50 g dried cranberries, roughly chopped
  • 40 g icing sugar
  • 150 g unsalted, softened butter
  • 200 g flour
  • 1/3 tsp salt
  Procedure
  1. Whisk together butter and sugar until creamy.
  2. Add in flour, salt, and cranberries, and mix by hand until the dough is homogeneous and supple.
  3. On a floured working surface, roll out the dough to obtain a thickness of about 5 mm. Cut out shapes, and put them on a baking sheet covered with a piece of baking paper, or a silicone mat.
  4. Refrigerate for one hour
  5. Preheat oven 180°C.
  6. Bake for 15 minutes. Let cool.

Monday, June 1, 2015

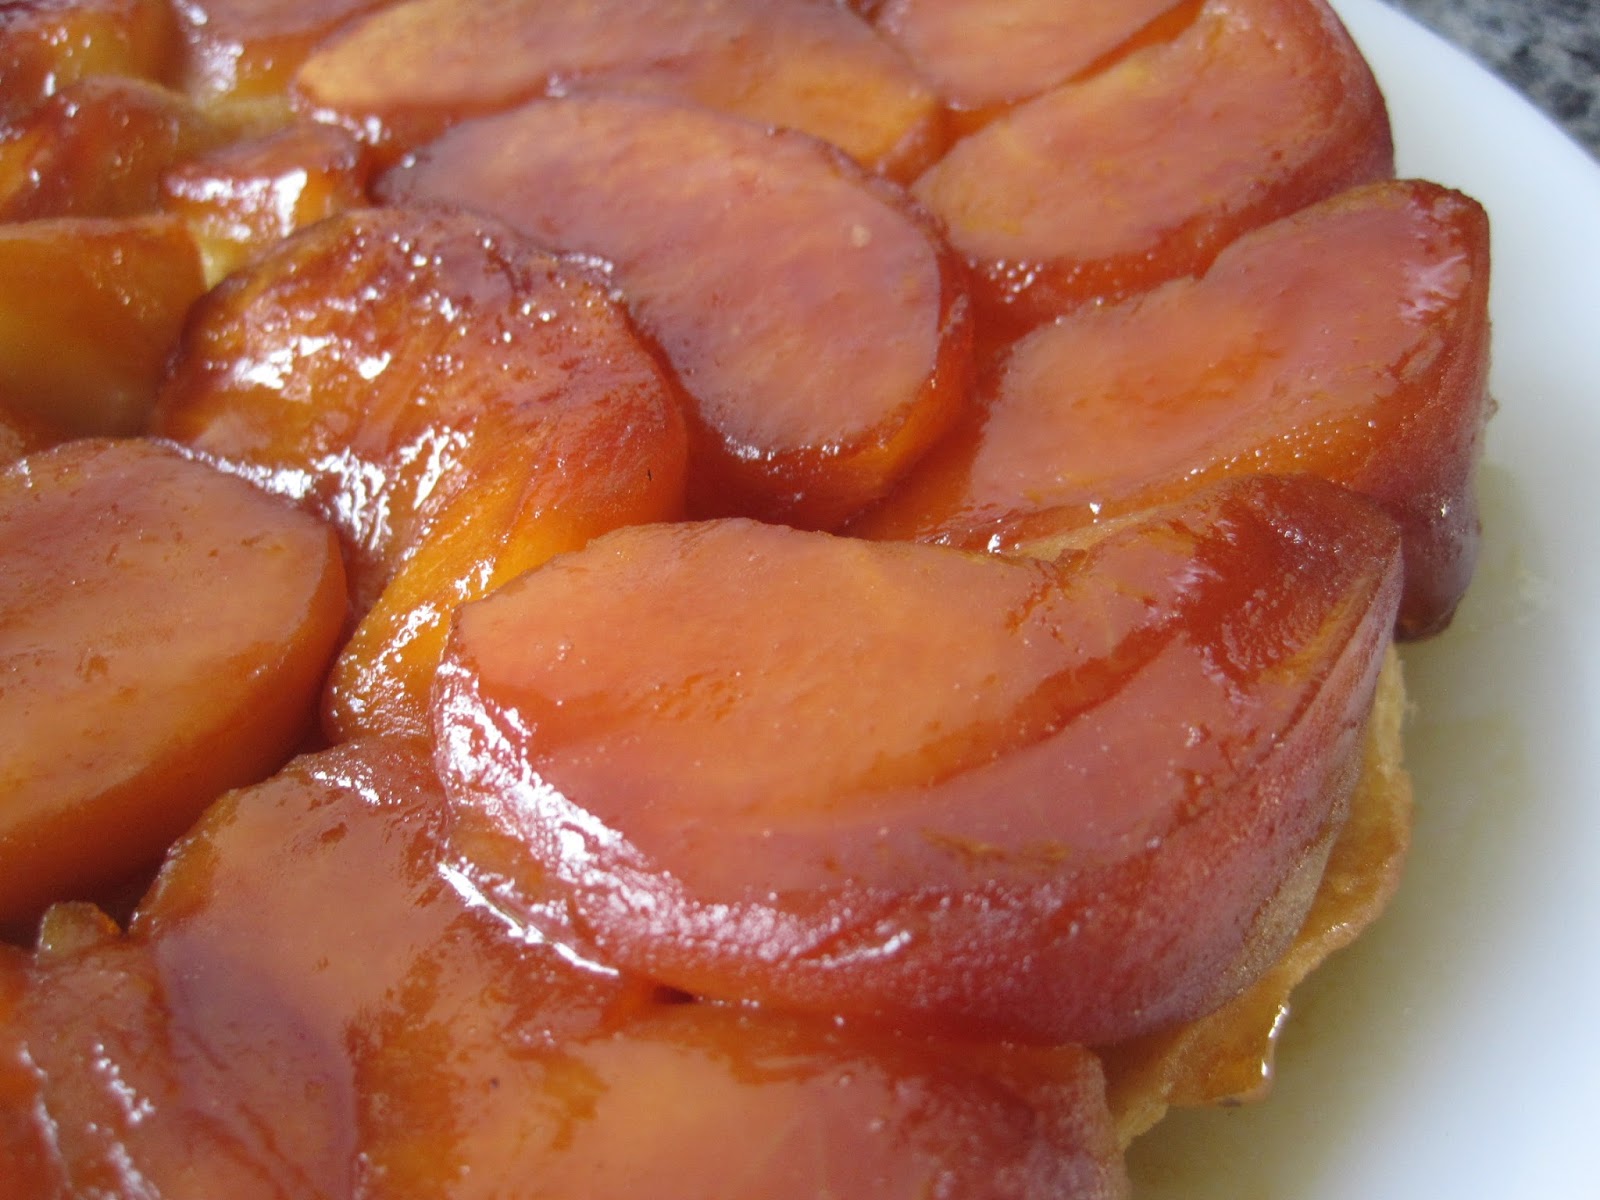
Tarte Tatin


Do you know the story of the Tarte Tatin? From what I hear, it is about how two sisters named Tatin once baked an apple tart while forgetting to put the dough under the apples. Thus, they decided to put the dough on top of the apples, then flip the whole thing after the baking was done. This resulted in very caramelized apples that were cooked uniformedly.


The apples in this recipe were first poached in a vanilla and butter syrup, then arranged on top of a caramel layer. The whole thing was covered in an homemade, inverted puff pastry, then baked.


This was how the tart looked before I flipped it over (with a shower of liquid syrup and caramel):


The recipe was adapted from La Pistacheraie's recipe (with many pictures).


TARTE TATIN RECIPE
  Ingredients

     Inverted Puff Pastry
  • 200 g (150 + 50) all-purpose flour
  • 135 g pastry flour
  • 220 g unsalted butter
  • 6 g salt
  • 1 tbs white vinegar
  • 165 g cold water
     Caramel
  • 200 g sugar
     Poached Apples
  • 1 L water
  • 150 g sugar
  • 1 tsp vanilla extract
  • 100 g butter
  • 6-8 apples
  Procedure

     Inverted Puff Pastry
  1. In a large bowl, mix 150 g all-purpose flour with the pastry flour, salt, cold water, and vinegar.
  2. Mix until just combined. Flatten into a rectangle, film, and refrigerate until used.
  3. In another bowl, combined softened butter with remaining 50 g all-purpose flour.
  4. Using a baking sheet, fold so that a square section forms in the middle.
  5. Put butter mix in the square, fold in flaps, then using a rolling pin, flatten into a square.
  6. Refrigerate at least 15 mins.
  7. Take out both doughs, and remove the paper and film.
  8. On a well floured surface, roll out the butter square until it becomes a large rectangle.
  9. Put the flour mix on the middle portion of the rectangle, and fold in the two remaining flaps in order to close the flour dough into the butter one.
  10. Turn the dough 90°, and flatten it by pressing a rolling pin into it successively. Roll out until about 60 cm long. Fold into 3rds and turn 90°. This is a simple turn.
  11. Repeat steps 10, then refrigerate 45 minutes.
  12. Repeat as to obtain 5 turns total, refrigerating after every 2 turns.
  13. Cut the dough in 2 equal pieces, film one and store it in the fridge.
  14. With the second half, roll it out until you can cut a circle that is 1-2 cm wider than your springform pan. Poke it with a fork.
  15. Refrigerate.
     Caramel
  1. In a heavy-bottomed pot, spread a thin layer of sugar (about 1/4 of the total amount).
  2. Heat gently until melted, and beginning to color.
  3. Add another 1/4 of sugar, shaking the pot to spread it.
  4. Repeat until all the sugar has caramelized.
  5. Pour it into the bottom of your springform pan. It will harden and become glass-like.
     Poached Apples
  1. In a pot, mix water, sugar, vanilla, and butter. Bring to a boil.
  2. Peel and cut apples into quarters. Put them in lemon water to keep them from browning.
  3. Put about half the apples in the syrup, and cook about 6-8 minutes, or until tender, but still holding shape.
  4. Repeat with the remaining apples.
     Assembly and baking
  1. Preheat oven 220°C.
  2. Arrange apples tightly in concentric circles on top of hardened caramel.
  3. Put the circle of dough on top of the springform pan. Gently push it down until it is in contact with the apples.
  4. With a skewer or a thin knife, poke a hole (chimney) in the middle of the dough.
  5. Bake for 25 minutes, then reduce the heat to 180°C, sprinkle the dough with sugar, and bake for an additional 10-15 minutes. Put another pan under the tart, as caramel syrup will leak out of the springform pan while baking as the caramel becomes liquid again.
  6. After cooling a little (the tart should still be warm), flip onto a plate. A lot of syrup will flow out!
  7. Tilt the plate to remove excess caramel syrup. Glaze with some watered-down apple jelly.

Nutty Brownies


I was going to visit some family friends. When I go, I usually bring some baked goods. At a loss as to which recipe to use, my mom suggested that I bake brownies again, as those friends love chocolate. I wanted to be able to cut through the sweetness a bit more, though.


Instead of using water, I put in a couple of tablespoons of decaffeinated coffee (because I did not want to keep them awake at night from eating brownies), and topped them with nuts. I made a small bunch of cupcake-sized ones to give away, and made another batch into a large, round brownie to share with my family.


Although I had added some coffee flavor in, I had also reduced the amount of sugar, because the last time, I had deemed it a bit too sweet. My nut preference would have been walnuts, but since I did not have any on hand, almonds and cashews had to suffice. This time, I did refrigerate the cake, which gave it a more fudgy texture than when not refrigerated.


The recipe can be found HERE.

Wednesday, May 20, 2015

Eggless Brownies


I think #5 on my brother's dessert wishlist (briefly mentioned in my previous post) was brownies. I had never made brownies before, but hey, it was time to try! I came across this recipe that looked awesome, and I just happened to have leftover applesauce from making the apple tart.

Having anticipated that I would be baking at least some kind of chocolate dessert, I had made sure to buy chocolate when I went to buy the apples for the tart.


These smelled heavenly while baking and cooling. It was a little difficult to go to sleep after (it was approximately 12:30 am by the time I was done with baking and cleaning up). I baked them in my little silicone cupcake molds, as I did not have baking paper with which to line a pan. I made 2 little packages of 3 cup-brownies each to give to my brother and his traveling companion. Due to lack of time, however, I did not refrigerate them as required in the original recipe.


A recipe that I will definitely make again!

BROWNIES RECIPE
  Ingredients
  • 3/4 cup flour
  • 1/4 tsp baking soda
  • 1 tsp baking powder
  • pinch of salt
  • 3 tbs (~28 g) butter
  • 1 1/2 up (~265 g) chocolate
  • 1/2 cup applesauce
  • 1/4 cup sugar
  • 2 tbs hot water
  • vanilla
  Procedure
  1. In a bowl, mix flour, baking powder, baking soda, and salt. Set aside.
  2. Melt chocolate and butter until chocolate appears partly melted. Mix until smooth.
  3. In a large mixing bowl, combine applesauce and sugar. Mix until sugar has dissolved.
  4. Mix in hot water and vanilla.
  5. Add chocolate mix, and mix well.
  6. Fold in dry ingredients with a spatula.
  7. Bake 180°C for 25-30 minutes or until a toothpick comes out dry.
  8. Refrigerate 1 hour before cutting.

Tuesday, May 19, 2015

Apple Tart #16


My brother came back from abroad with a list of 5 desserts (and potentially more) he wanted me to make before he left again. Seeing how I was only in the same country as him for about 3 days, that was an impossible feat. On his list, however, were two apple desserts: apple crumble, and apple tart. I had made the crumble for a barbecue gathering with some cousins and friends last Friday, but neglected to take pictures to blog about it. Next to tackle was the apple tart.


I made this for a family dinner last night, before my brother had to catch a flight this morning. It also happens to be one of my mom's favorite desserts, and tends to be liked all around due to the relatively low amount of sugar involved, and the natural fruitiness of the tart.

As there were 7 of us at dinner, I simply cut it into 8 slices (with my brother wolfing down the extra slice), and served them up with a scoop of vanilla ice cream.

Tutorial yonder this way~

Mini Strawberry Cheesecake


I made this last week for a friend whose birthday was on Wednesday. I was only able to give it to her on Friday, however, as cheesecake needs to chill overnight. I kind of threw this together really quickly without really measuring the amounts of ingredients used.


I picked 3-4 of the ugliest strawberries from the punnets I'd gotten at the market the week before. These I mashed into a pulp before adding a 200 g tub of Philadelphia cream cheese and a bit of sugar. I also added about 2-3 tablespoons of quark instead of the usual sour cream/Greek yogurt.


As it was late, I did not want to have to dig out the egg replacer and have to mix it with water to add in. Therefore, I opted to leave it out. As the strawberry pulp had added some juice and thus liquid to the batter, I threw in half a teaspoon of cornstarch to make sure the cake held together.


After baking it a bit in the oven, I let it to cool to room temperature, then topped it with sliced strawberries, on top of which I sprinkled some more granulated, unrefined sugar. The whole thing was placed, unmolded, into the fridge overnight.

Triple Tier: Cake Pops, Banana Bread, and Apple Tarts


The last Thursday of the semester was Ascension Day, which is a holiday around where I am. Due to still having a class to attend the next day, I could not go home yet, but since the class itself didn't require any work, I decided to spend the day in one of my favorite activities: baking.

I had invited many of my friends to come pick up some sweets -- knowing that many of them still had papers and/or exams to deal with -- or to just come and chat with some tea and desserts. I spent most of Wednesday afternoon and Thursday morning baking.


The first of the three desserts were these cake pops. I made them with a double batch of my trusty vegan cake recipe, to which I added a bunch of cinnamon and a dash of nutmeg. After crumbling the cake into crumbs, I moistened it all with a homemade pumpkin puree. I made that by roasting half a pumpkin until soft, then blending the flesh. The mix was then rolled into balls, and a chocolate-covered toothpick was inserted in each of them, then left to set and cool in the fridge overnight. On the day of the event, I dipped them in melted dark chocolate (this time melted in 30-seconds lapses in the microwave, due to my inability to deal with a double boiler technique while handling two other recipes). They were then topped with crushed, salted pistachios and chocolate sprinkles.


Next was a single batch of banana bread, made the usual way in a loaf pan. I cut the banana bread in half lengthwise, then sliced each half to get regular-sized parts.


Finally came these mini apple tart bites, made with circles of pâte brisée, some homemade applesauce, and microwaved apple slices shaped into flowers. I then baked the whole assembly for an additional 10 minutes, then glazed them with the drained water from the applesauce, to which I added some citrus pectin due to a shortage of time. If I have more time, I usually reduce the juice into a glaze. The procedure is a more messy, rushed version of this one.

Savory Butterfly Pastries


I had a pastry dough left in the freezer that needed to be used to free up some space. After coming across this recipe from Z'oeuf peux pas, I decided to give it a try, myself!


This time, I followed the recipe and just used mustard and grated cheese. This method, however, offers a wide variety of options to vary flavors. Not only is it super easy to make, but it looks very beautiful as well.

RECIPE
  Ingredients
  • 1 pastry dough
  • mustard
  • grated cheese
  Procedure
  1. Cut dough into a square if it is round by trimming the curved edges.
  2. Spread a layer of mustard on the dough.
  3. Sprinkle grated cheese on top.
  4. Roll two edges towards each other until they meet in the middle. 
  5. Put in the freezer for an hour.
  6. Slice into 5 mm pastries.
  7. Bake at 180°C for 10 to 15 minutes.