Tuesday, June 2, 2015

Cranberry Shortbread Cookies


I have been meaning to make cookies to give to the people in the department at the hospital in which I had worked for a month, a few years back. One of them recently found an internship for me, so I wanted it to double as thanks for him, too.


Instead of doing plain butter and sugar cookies, I decided it was time to try another recipe from my shortbread cookies and crackers recipe book. I had received this book for Christmas last year, from a cousin.


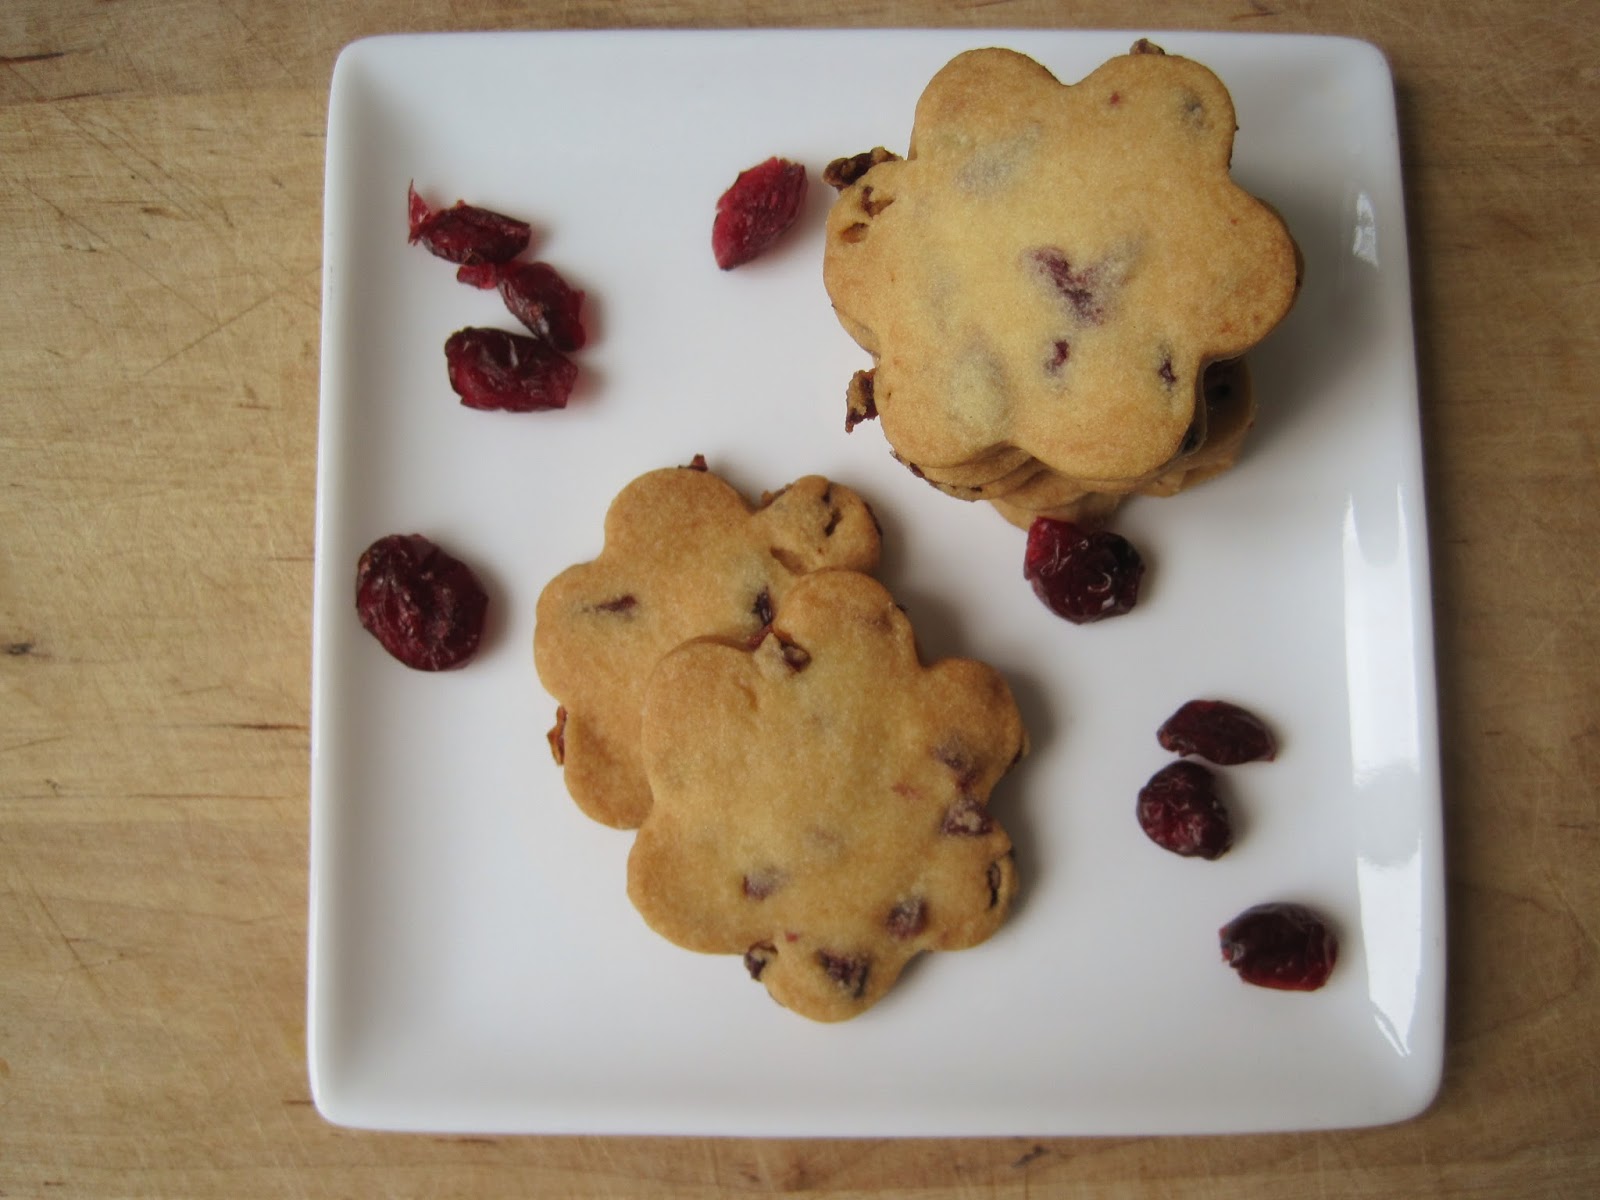
I had some dried cranberries laying around (my aunt usually brings a huge bag from the US every time she comes here, as she knows many people here like them). Thus, I ended up with cranberry shortbread cookies.


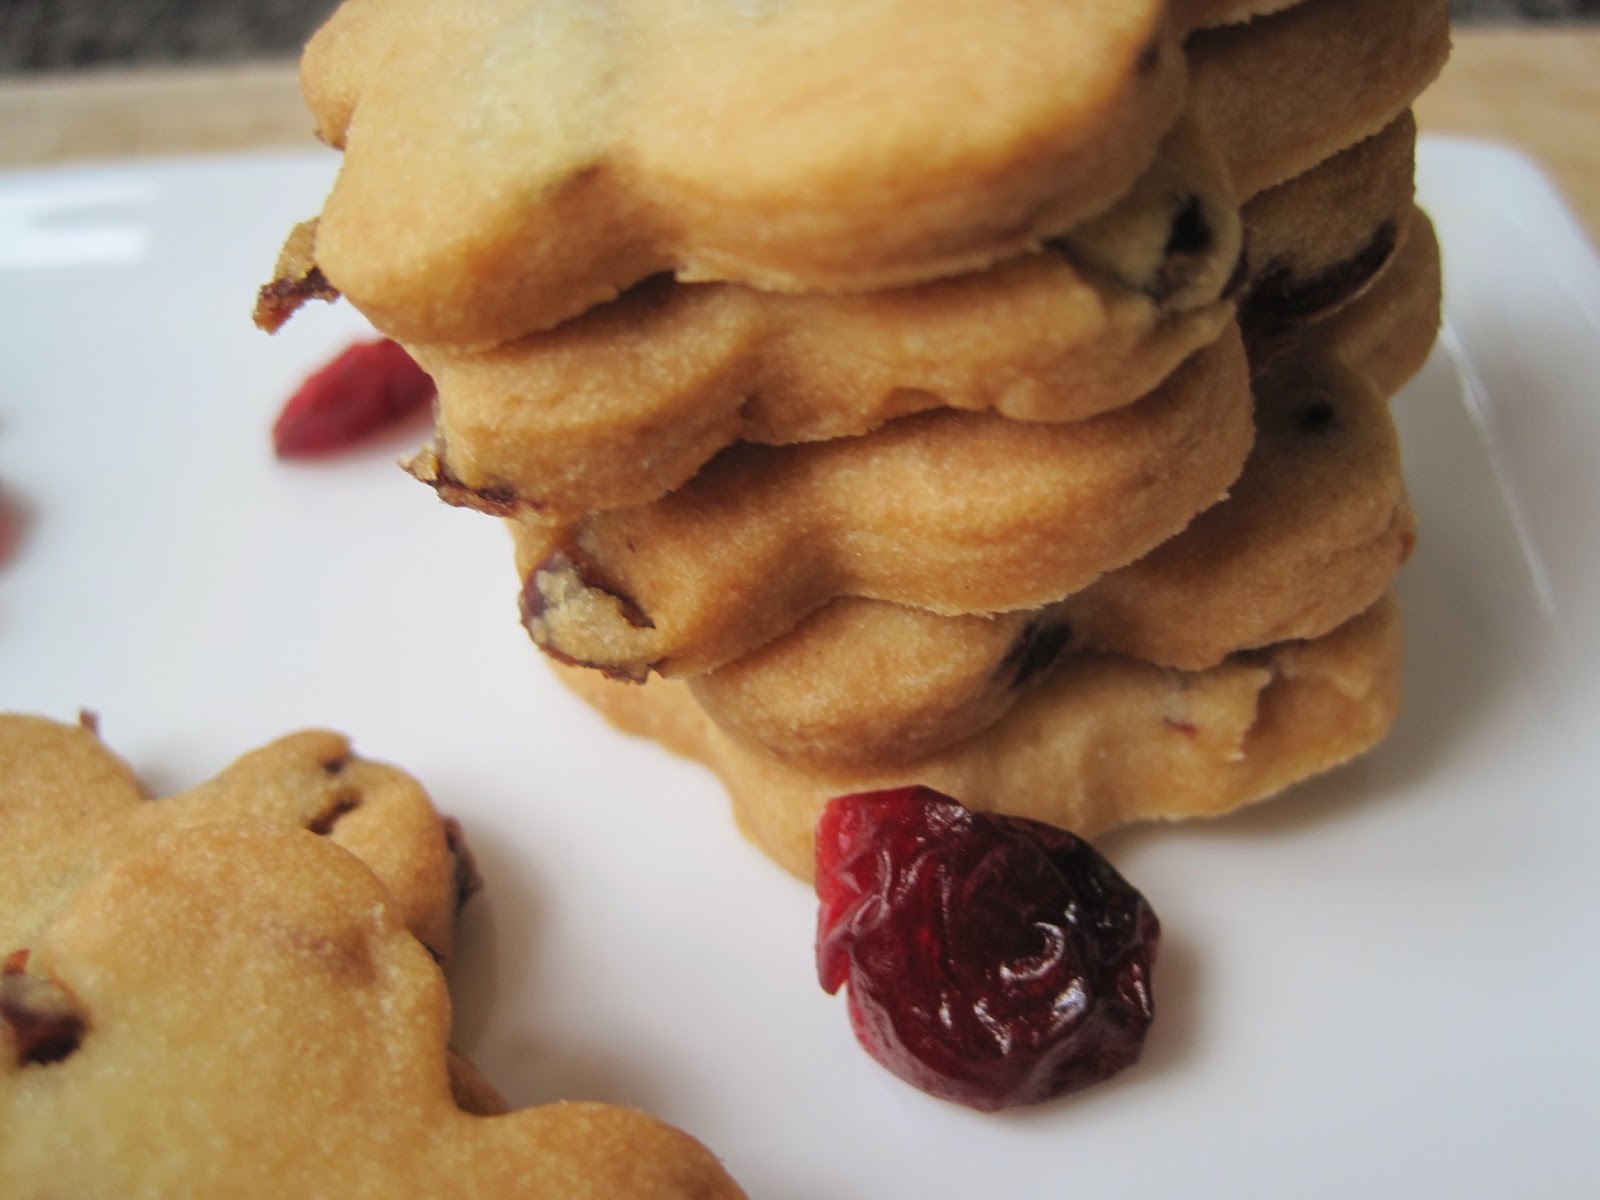
These were quite easy to make, although the 1-hour waiting time was kind of bothersome, as it was 1 am by the time I could stick them in the oven. I think the most bothersome part of this recipe is that, when cutting out shapes, my cookie cutter sometimes cut through a cranberry. If I was not careful, the cranberry would rip the cookie, thus ruining the shape.


I had planned to take progress pictures, but as soon as my hands got involved in mixing the flour into the butter mix, it was impossible to handle my camera. Maybe next time! I packaged these in little transparent plastic bags to give out.


CRANBERRY SHORBREAD RECIPE
  Ingredients
  • 50 g dried cranberries, roughly chopped
  • 40 g icing sugar
  • 150 g unsalted, softened butter
  • 200 g flour
  • 1/3 tsp salt
  Procedure
  1. Whisk together butter and sugar until creamy.
  2. Add in flour, salt, and cranberries, and mix by hand until the dough is homogeneous and supple.
  3. On a floured working surface, roll out the dough to obtain a thickness of about 5 mm. Cut out shapes, and put them on a baking sheet covered with a piece of baking paper, or a silicone mat.
  4. Refrigerate for one hour
  5. Preheat oven 180°C.
  6. Bake for 15 minutes. Let cool.

Monday, June 1, 2015

Tarte Tatin


Do you know the story of the Tarte Tatin? From what I hear, it is about how two sisters named Tatin once baked an apple tart while forgetting to put the dough under the apples. Thus, they decided to put the dough on top of the apples, then flip the whole thing after the baking was done. This resulted in very caramelized apples that were cooked uniformedly.


The apples in this recipe were first poached in a vanilla and butter syrup, then arranged on top of a caramel layer. The whole thing was covered in an homemade, inverted puff pastry, then baked.


This was how the tart looked before I flipped it over (with a shower of liquid syrup and caramel):


The recipe was adapted from La Pistacheraie's recipe (with many pictures).


TARTE TATIN RECIPE
  Ingredients

     Inverted Puff Pastry
  • 200 g (150 + 50) all-purpose flour
  • 135 g pastry flour
  • 220 g unsalted butter
  • 6 g salt
  • 1 tbs white vinegar
  • 165 g cold water
     Caramel
  • 200 g sugar
     Poached Apples
  • 1 L water
  • 150 g sugar
  • 1 tsp vanilla extract
  • 100 g butter
  • 6-8 apples
  Procedure

     Inverted Puff Pastry
  1. In a large bowl, mix 150 g all-purpose flour with the pastry flour, salt, cold water, and vinegar.
  2. Mix until just combined. Flatten into a rectangle, film, and refrigerate until used.
  3. In another bowl, combined softened butter with remaining 50 g all-purpose flour.
  4. Using a baking sheet, fold so that a square section forms in the middle.
  5. Put butter mix in the square, fold in flaps, then using a rolling pin, flatten into a square.
  6. Refrigerate at least 15 mins.
  7. Take out both doughs, and remove the paper and film.
  8. On a well floured surface, roll out the butter square until it becomes a large rectangle.
  9. Put the flour mix on the middle portion of the rectangle, and fold in the two remaining flaps in order to close the flour dough into the butter one.
  10. Turn the dough 90°, and flatten it by pressing a rolling pin into it successively. Roll out until about 60 cm long. Fold into 3rds and turn 90°. This is a simple turn.
  11. Repeat steps 10, then refrigerate 45 minutes.
  12. Repeat as to obtain 5 turns total, refrigerating after every 2 turns.
  13. Cut the dough in 2 equal pieces, film one and store it in the fridge.
  14. With the second half, roll it out until you can cut a circle that is 1-2 cm wider than your springform pan. Poke it with a fork.
  15. Refrigerate.
     Caramel
  1. In a heavy-bottomed pot, spread a thin layer of sugar (about 1/4 of the total amount).
  2. Heat gently until melted, and beginning to color.
  3. Add another 1/4 of sugar, shaking the pot to spread it.
  4. Repeat until all the sugar has caramelized.
  5. Pour it into the bottom of your springform pan. It will harden and become glass-like.
     Poached Apples
  1. In a pot, mix water, sugar, vanilla, and butter. Bring to a boil.
  2. Peel and cut apples into quarters. Put them in lemon water to keep them from browning.
  3. Put about half the apples in the syrup, and cook about 6-8 minutes, or until tender, but still holding shape.
  4. Repeat with the remaining apples.
     Assembly and baking
  1. Preheat oven 220°C.
  2. Arrange apples tightly in concentric circles on top of hardened caramel.
  3. Put the circle of dough on top of the springform pan. Gently push it down until it is in contact with the apples.
  4. With a skewer or a thin knife, poke a hole (chimney) in the middle of the dough.
  5. Bake for 25 minutes, then reduce the heat to 180°C, sprinkle the dough with sugar, and bake for an additional 10-15 minutes. Put another pan under the tart, as caramel syrup will leak out of the springform pan while baking as the caramel becomes liquid again.
  6. After cooling a little (the tart should still be warm), flip onto a plate. A lot of syrup will flow out!
  7. Tilt the plate to remove excess caramel syrup. Glaze with some watered-down apple jelly.

Nutty Brownies


I was going to visit some family friends. When I go, I usually bring some baked goods. At a loss as to which recipe to use, my mom suggested that I bake brownies again, as those friends love chocolate. I wanted to be able to cut through the sweetness a bit more, though.


Instead of using water, I put in a couple of tablespoons of decaffeinated coffee (because I did not want to keep them awake at night from eating brownies), and topped them with nuts. I made a small bunch of cupcake-sized ones to give away, and made another batch into a large, round brownie to share with my family.


Although I had added some coffee flavor in, I had also reduced the amount of sugar, because the last time, I had deemed it a bit too sweet. My nut preference would have been walnuts, but since I did not have any on hand, almonds and cashews had to suffice. This time, I did refrigerate the cake, which gave it a more fudgy texture than when not refrigerated.


The recipe can be found HERE.